Running Pi OS Bookworm?
Please see our guide: Raspberry Pi 5, Bookworm and RealVNC Connect
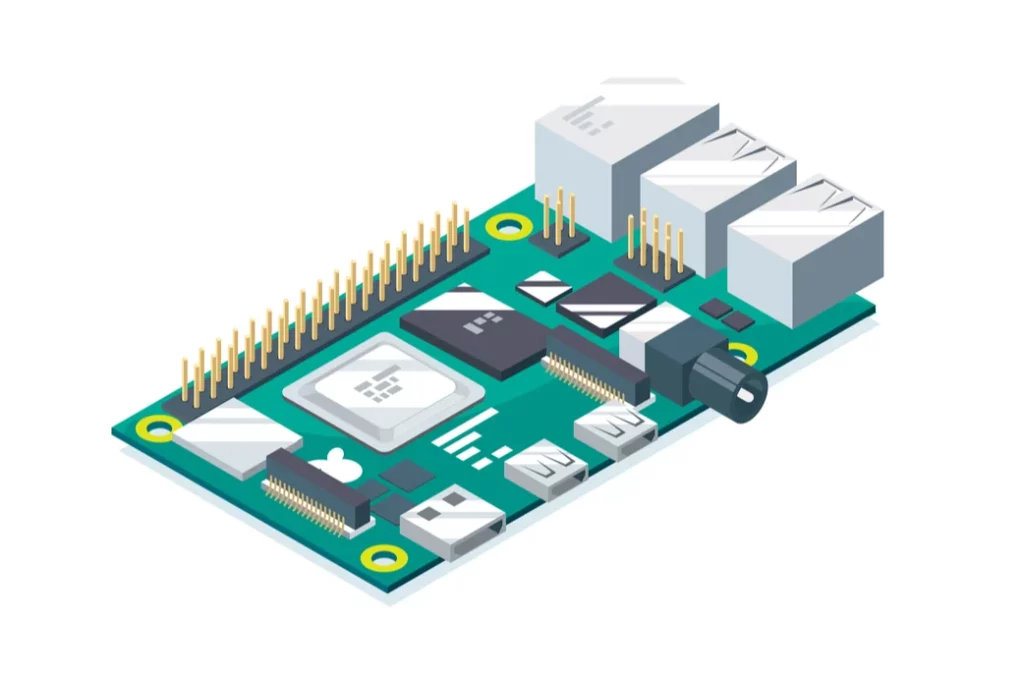
Raspberry Pi devices are small single-board computers. Originally designed to help teach computer science, the modularity, open design, and low cost of the devices have made them popular with tech startups and for use in robotics.
As a single-board computer, Raspberry Pi devices can be used with a display or as headless devices, both of which can be used with RealVNC Connect remote connections.
Read on for a thorough explanation and a set-up guide for using Raspberry Pi and RealVNC together.
Can you control Raspberry Pi remotely?
Yes. You can control your Raspberry Pi remotely, just as you would a PC, Mac, or mobile device.
You can even remotely access a headless Raspberry Pi, which allows you to use it without a monitor.
This is perfect for situations where you may wish to have your Raspberry Pi constantly performing tasks, but don’t necessarily need visual access to it all the time.
Why use Raspberry Pi and RealVNC Connect together?
If you want to set up remote access to your Raspberry Pi, RealVNC Connect is a good option.
This will allow you to interact with the Raspberry Pi’s GUI (Graphical User Interface) as if you were sitting directly in front of it. With a RealVNC Connect Raspberry Pi remote connection, you can configure settings, run graphical applications, troubleshoot issues, and use your Raspberry Pi in any way you normally would from afar.
Because RealVNC Connect is platform-independent, you can remote into Raspberry Pi from Windows, macOS, or Linux devices, as well as smartphones and tablets – it’s as easy as completing the remote login to your Raspberry Pi device.
So, the next question that we need to answer is: ‘How to enable VNC on Raspberry Pi?’
How to set up a remote desktop for Raspberry Pi
1. Ensure software is up to date
The first step when setting up a remote desktop for Raspberry Pi is to ensure that your software is up to date.
In order to update the packages running on your device, you’ll need to run the following two commands:
Terminal $
sudo apt update
sudo apt upgrade
2. Enable VNC on Raspberry Pi
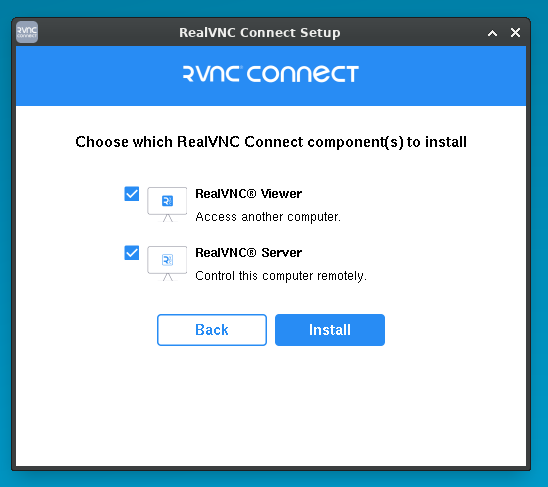
The next step is to install VNC Server on your Raspberry Pi device.
To do this, run the following command:
Terminal $
sudo apt install realvnc-vnc-server realvnc-vnc-viewer
VNC will be disabled by default on your Raspberry Pi device, however you can easily enable it using either the desktop or the terminal.
To enable VNC on the desktop, navigate to the start menu > Preferences > Raspberry Pi Configuration.
Then select ‘Interfaces’, and click ‘Enable’ next to VNC. Then click ‘OK’.
To enable VNC using the terminal, enter the following command:
Terminal $
sudo raspi-config
Using the arrows, navigate to ‘Interfacing Options’ > ‘VNC’, then choose ‘Yes’ and select ‘OK’.
3. Complete the connection
Now that VNC is enabled on your Raspberry Pi device, you can connect to it. This is no different from the way you would connect to any other machine running a RealVNC Server.
Login on your Raspberry Pi device using your RealVNC® account. Then, log in to the same account on the device running VNC Viewer. Your Raspberry Pi device should show as an available connection.
If you wish, you can also connect without using a RealVNC account. Simply make note of the IP address shown in RealVNC Server, which will allow you to initiate a Direct Connection.
When asked for login credentials, you need to use your Raspberry Pi’s credentials. By default, the account is ‘pi’ and the password is whatever you have set it to (the default password is ‘raspberry’, but as everyone knows this, it’s a good idea to change it as quickly as possible).
Congratulations – you’ve now completed the setup of RealVNC Connect on a Raspberry Pi device.
Using RealVNC Connect for a Raspberry Pi virtual desktop
You can even use RealVNC Connect to create a Raspberry Pi virtual desktop, which is handy if your Raspberry Pi device isn’t connected to a monitor.
If you wish to do this, run the following command on your Raspberry Pi device:
Terminal $
vncserver
Write down the IP address and display number shown. Then you can enter these details into RealVNC Viewer, and you’ll be able to connect.
If you wish to stop the remote virtual desktop, enter the following command:
Terminal $
vncserver-kill:<display-number>
RealVNC and Raspberry Pi
Remote controlling a Raspberry Pi can be achieved just as easily as any other device, providing you have the right tools.
Once you’re connected, you’ll be able to remotely control your Raspberry Pi, check its properties, and send and receive files, all from the device of your choosing.
You’ll even be able to access a headless Raspberry Pi that isn’t hooked up to a monitor.
Why not have a play around for yourself, and see what uses for Raspberry Pi and ReaVNC Connect you can discover?
FAQs on VNC for Raspberry Pi
Is VNC free for Raspberry Pi?
RealVNC Connect from RealVNC is included with Raspberry Pi OS.
RealVNC Connect comprises both RealVNC Server, which allows you to control your Raspberry Pi remotely, andReal VNC Viewer, which allows you to control desktop computers remotely, meaning you can easily connect your Raspberry Pi to a laptop, desktop, or mobile phone using vnc.
What port does VNC Raspberry Pi use?
The VNC Raspberry Pi port is 5900.
You should ensure that you open this port on all the middle devices to work the communication from your PC to the Raspberry Pi.
Can I use a Raspberry Pi without a monitor?
Yes, you can. This is known as a headless Raspberry Pi, and it can be remotely controlled using RealVNC Connect.
How do I secure my Raspberry Pi remotely?
There are several steps you can take to ensure that you’re remotely accessing your Raspberry Pi in a secure manner.
You should treat every connection as if it’s been made in a hostile environment and ensure that data is end-to-end encrypted. Make sure you also have control over what connections are made and by whom.
Multifactor authentication and device sign-in verification are other steps that are recommended for secure connections.
RealVNC Connect offers all of these security features and more. It provides vigorous security options and authentication tools, giving you complete control and complete peace of mind.


